How to Make Crispy, Delicious Kale Chips at Home
Kale chips are a crunchy, satisfying snack that’s surprisingly easy to make at home. Not only are they a healthier alternative to traditional potato chips, but they’re also a great way to sneak some greens into your diet. Whether you’re new to kale or already a fan, this guide will walk you through the steps to make the perfect batch of kale chips.
Ingredients You’ll Need:
- 1 bunch of kale (any variety will work, but curly kale tends to crisp up nicely)
- 1-2 tablespoons of olive oil
- Salt to taste
- Optional seasonings (such as garlic powder, paprika, or nutritional yeast for a cheesy flavor)
Step 1: Prep Your Kale
Start by preheating your oven to 300°F (150°C). Wash the kale thoroughly to remove any dirt, then pat it dry with a clean kitchen towel or paper towels. It’s important that the kale is completely dry; any moisture can cause the chips to steam rather than crisp up.
Once the kale is dry, remove the tough stems by tearing or cutting the leaves away. You want to end up with bite-sized pieces—think the size of a potato chip.
Step 2: Season the Kale
Place the kale pieces in a large bowl. Drizzle the olive oil over the kale, then use your hands to massage the oil into the leaves. Make sure each piece is lightly coated but not drenched in oil, as too much can make the chips soggy.
Next, sprinkle salt over the kale, adjusting the amount to your taste. This is also the time to add any additional seasonings you like. Whether you prefer a simple salt-and-pepper mix or want to get adventurous with spices, this step is where you can customize your chips to suit your flavor preferences.
Step 3: Bake to Perfection
Arrange the kale pieces in a single layer on a baking sheet. Be careful not to overcrowd the pan; if the kale pieces overlap, they may not cook evenly. Depending on the amount of kale you have, you might need to use two baking sheets or bake in batches.
Place the baking sheet in the preheated oven and bake for 10-15 minutes. Keep a close eye on the kale as it bakes; the chips can go from perfectly crisp to burnt quickly. You’ll know they’re done when the edges start to brown slightly and the chips are crispy to the touch.
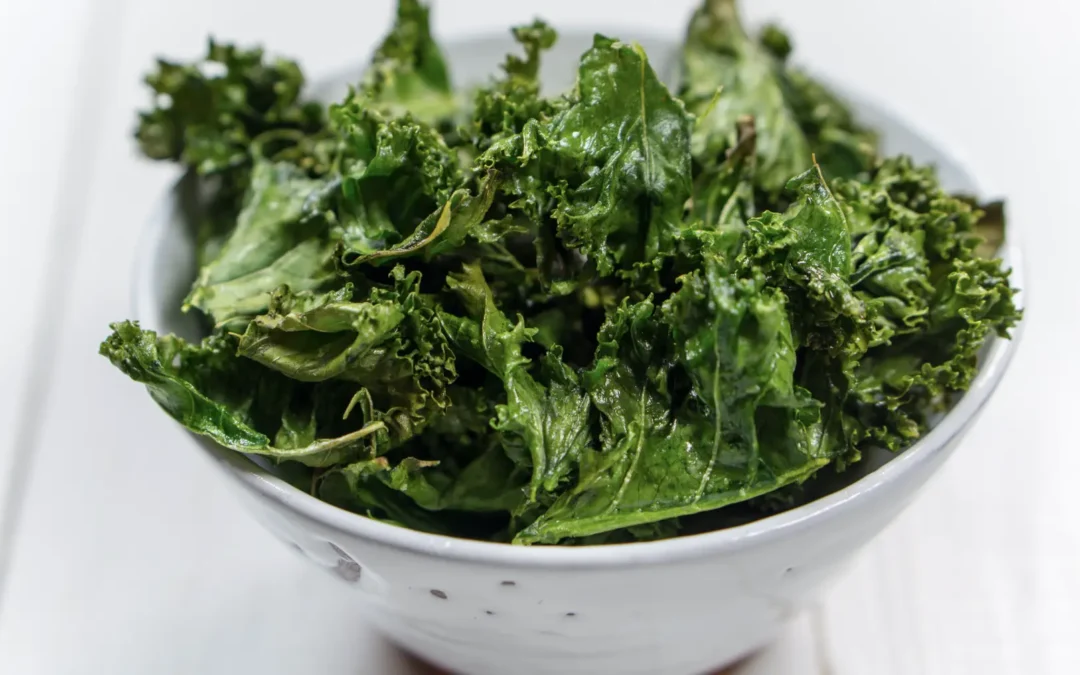
Step 4: Cool and Enjoy
Once your kale chips are out of the oven, let them cool on the baking sheet for a few minutes. This helps them crisp up even more. After they’ve cooled, transfer them to a bowl or enjoy them straight off the sheet!
Storage Tips
Kale chips are best enjoyed fresh, but if you have leftovers, store them in an airtight container at room temperature. They should stay crispy for a day or two, though they might lose a bit of their crunch over time.
Flavor Variations to Try
- Spicy Kale Chips: Add a sprinkle of cayenne pepper or chili powder.
- Cheesy Kale Chips: Toss the kale with nutritional yeast for a cheesy, vegan-friendly flavor.
- Garlic Parmesan Kale Chips: Mix in some garlic powder and a bit of grated Parmesan for a savory twist.
Final Thoughts
Making kale chips at home is a simple and rewarding process. With just a few ingredients and a little bit of time, you can create a snack that’s both nutritious and delicious. Experiment with different seasonings and find your perfect flavor combination—kale chips might just become your new go-to snack!
We’ve got an updated 2nd version of this post…many years later. Who would know a virus called COVID would hit?!